What are the steps of screen printing?
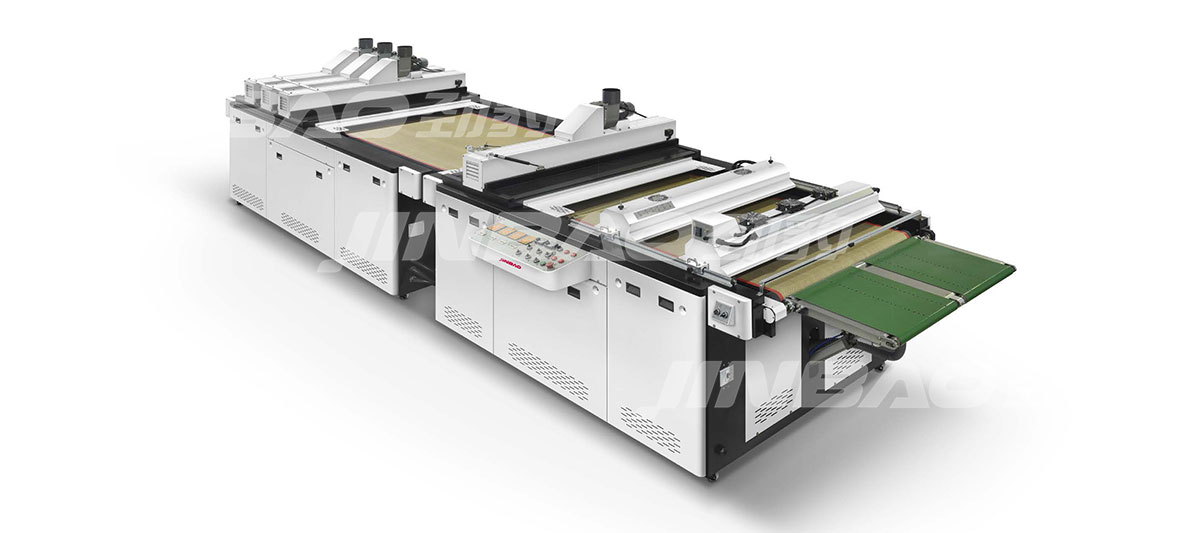
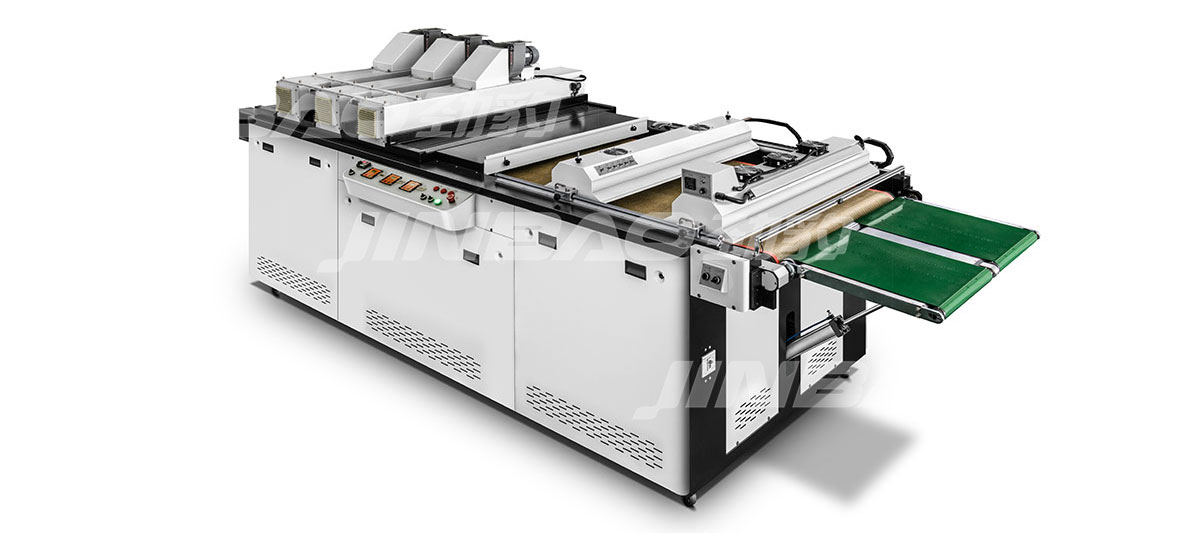
Screen printing, also known as silk screening, is a versatile printing technique that allows for the transfer of designs onto various substrates using a mesh screen and ink-blocking stencil. This method is widely used across industries such as textiles, electronics, and advertising due to its ability to produce vibrant colors and durable prints. Here’s a detailed look at the steps involved in screen printing, including a focus on the Stop Cylinder and Swing Cylinder screen printing machines.
Steps of Screen Printing
1. Design Preparation:
- Digital or Manual Design: Begin by creating or obtaining the design that will be printed. This can be done digitally using software like Adobe Illustrator or CorelDRAW, or manually through hand-drawn techniques.
- Color Separation: For multi-color designs, separate the colors into individual layers. Each color requires its own stencil and printing process.
2. Screen Preparation:
- Mesh Selection: Choose a screen mesh with an appropriate count (threads per inch) based on the design and substrate. Finer meshes are used for detailed prints, while coarser meshes are suitable for thicker inks.
- Coating: Apply a photosensitive emulsion onto the screen. Once dry, expose the coated screen to UV light through a film positive of the design. This exposure hardens the emulsion except where the design blocks the light.
3. Stencil Creation:
- Developing: Wash the screen with water to remove the unexposed emulsion, leaving behind a stencil of the design.
- Touch-up: Repair any imperfections in the stencil using blockout tape or screen filler.
4. Setup Printing Machine:
- Mounting: Secure the prepared screen onto the printing machine’s print head or bed.
- Registration: Align the screen to ensure accurate placement of the design on the substrate.
5. Printing Process:
- Ink Preparation: Mix or prepare the ink according to the color and substrate requirements.
- Printing: Place the substrate (such as fabric, paper, or plastic) underneath the screen. Load ink onto the screen and use a squeegee to spread the ink evenly across the stencil, transferring the design onto the substrate.
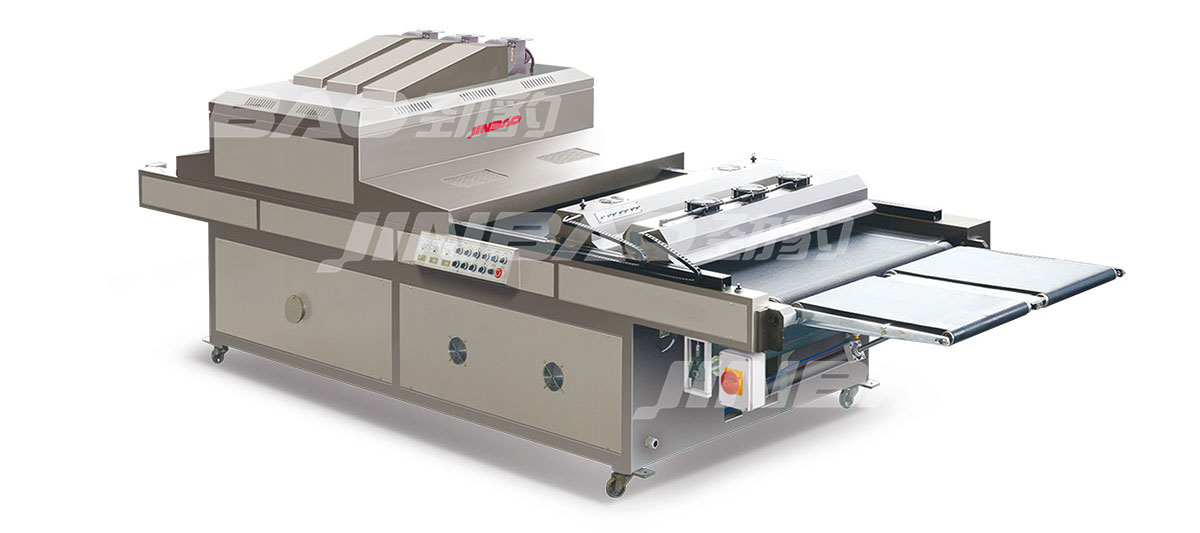
- Curing: Depending on the ink type, cure the printed design using heat (oven or conveyor dryer) or UV light to ensure durability and color fastness.
6. Cleanup:
- Screen Reclamation: Remove the stencil from the screen using a stencil remover or reclaiming chemical. This process prepares the screen for reuse by removing ink and emulsion residue.
- Equipment Maintenance: Clean and maintain the printing machine and tools to prolong their lifespan and ensure consistent print quality.
Specialized Equipment: Stop Cylinder and Swing Cylinder Machines
Stop Cylinder Screen Printing Machine:
- Operation: In this type of machine, the printing bed stops while the screen moves back and forth with the squeegee and flood bar. This allows for precise printing registration and control over ink deposition.
- Advantages: Ideal for high-precision printing, especially on flat substrates like paper and PCBs.
Swing Cylinder Screen Printing Machine:
- Operation: The printing bed swings outward from the cylinder axis during printing. This motion reduces the risk of ink smearing and allows for printing on curved or irregularly shaped objects.
- Advantages: Suitable for printing on bottles, glassware, and other cylindrical objects due to its ability to maintain consistent pressure and contact during printing.
Conclusion
Screen printing machine remains a cornerstone of the printing industry due to its versatility, durability, and ability to achieve vibrant colors on a variety of surfaces. By understanding the steps involved and the specialized capabilities of machines like Stop Cylinder and Swing Cylinder models, businesses can leverage this technique to create high-quality prints that meet their specific needs. Whether for textiles, electronics, or promotional items, screen printing continues to evolve alongside technological advancements, maintaining its relevance in modern manufacturing and design processes.


